Quick Start Guide
Get your first AI agent live in under 15 minutes. This step-by-step guide walks you through creating a knowledge base, building and testing an agent, and deploying it to your team via internal chat or embedding it on your website. Completing both deployment steps requires a paid plan.
This guide walks you through building your first AI agent on botts.ai end to end: create a knowledge base, create an agent, test it in the dashboard, roll it out to your team via internal chat, and finally embed it on your website.
Prerequisites
- A botts.ai account. Sign up here if you don't have one yet.
- The Owner or Admin role in your organization. Adding knowledge-base sources and creating deployments require Admin or Owner; Builders can create and test agents but cannot add sources or deploy.
- A website URL to crawl, or one or more documents (PDF, DOC, DOCX, TXT, MD) with the information your agent should know.
- Credits in your organization. The Free plan includes 200 monthly credits; crawling costs 1 credit per page.
- A paid plan if you want to complete both deployment steps. The Free and Lite plans allow only 1 active deployment, so you can do either Step 4 (internal chat) or Step 5 (website widget), not both at once — and the Free plan is limited to 1 member, so there is no team to roll the agent out to. The Standard plan allows 4 active deployments. On Free, pick the deployment step that matters to you and skip the other.
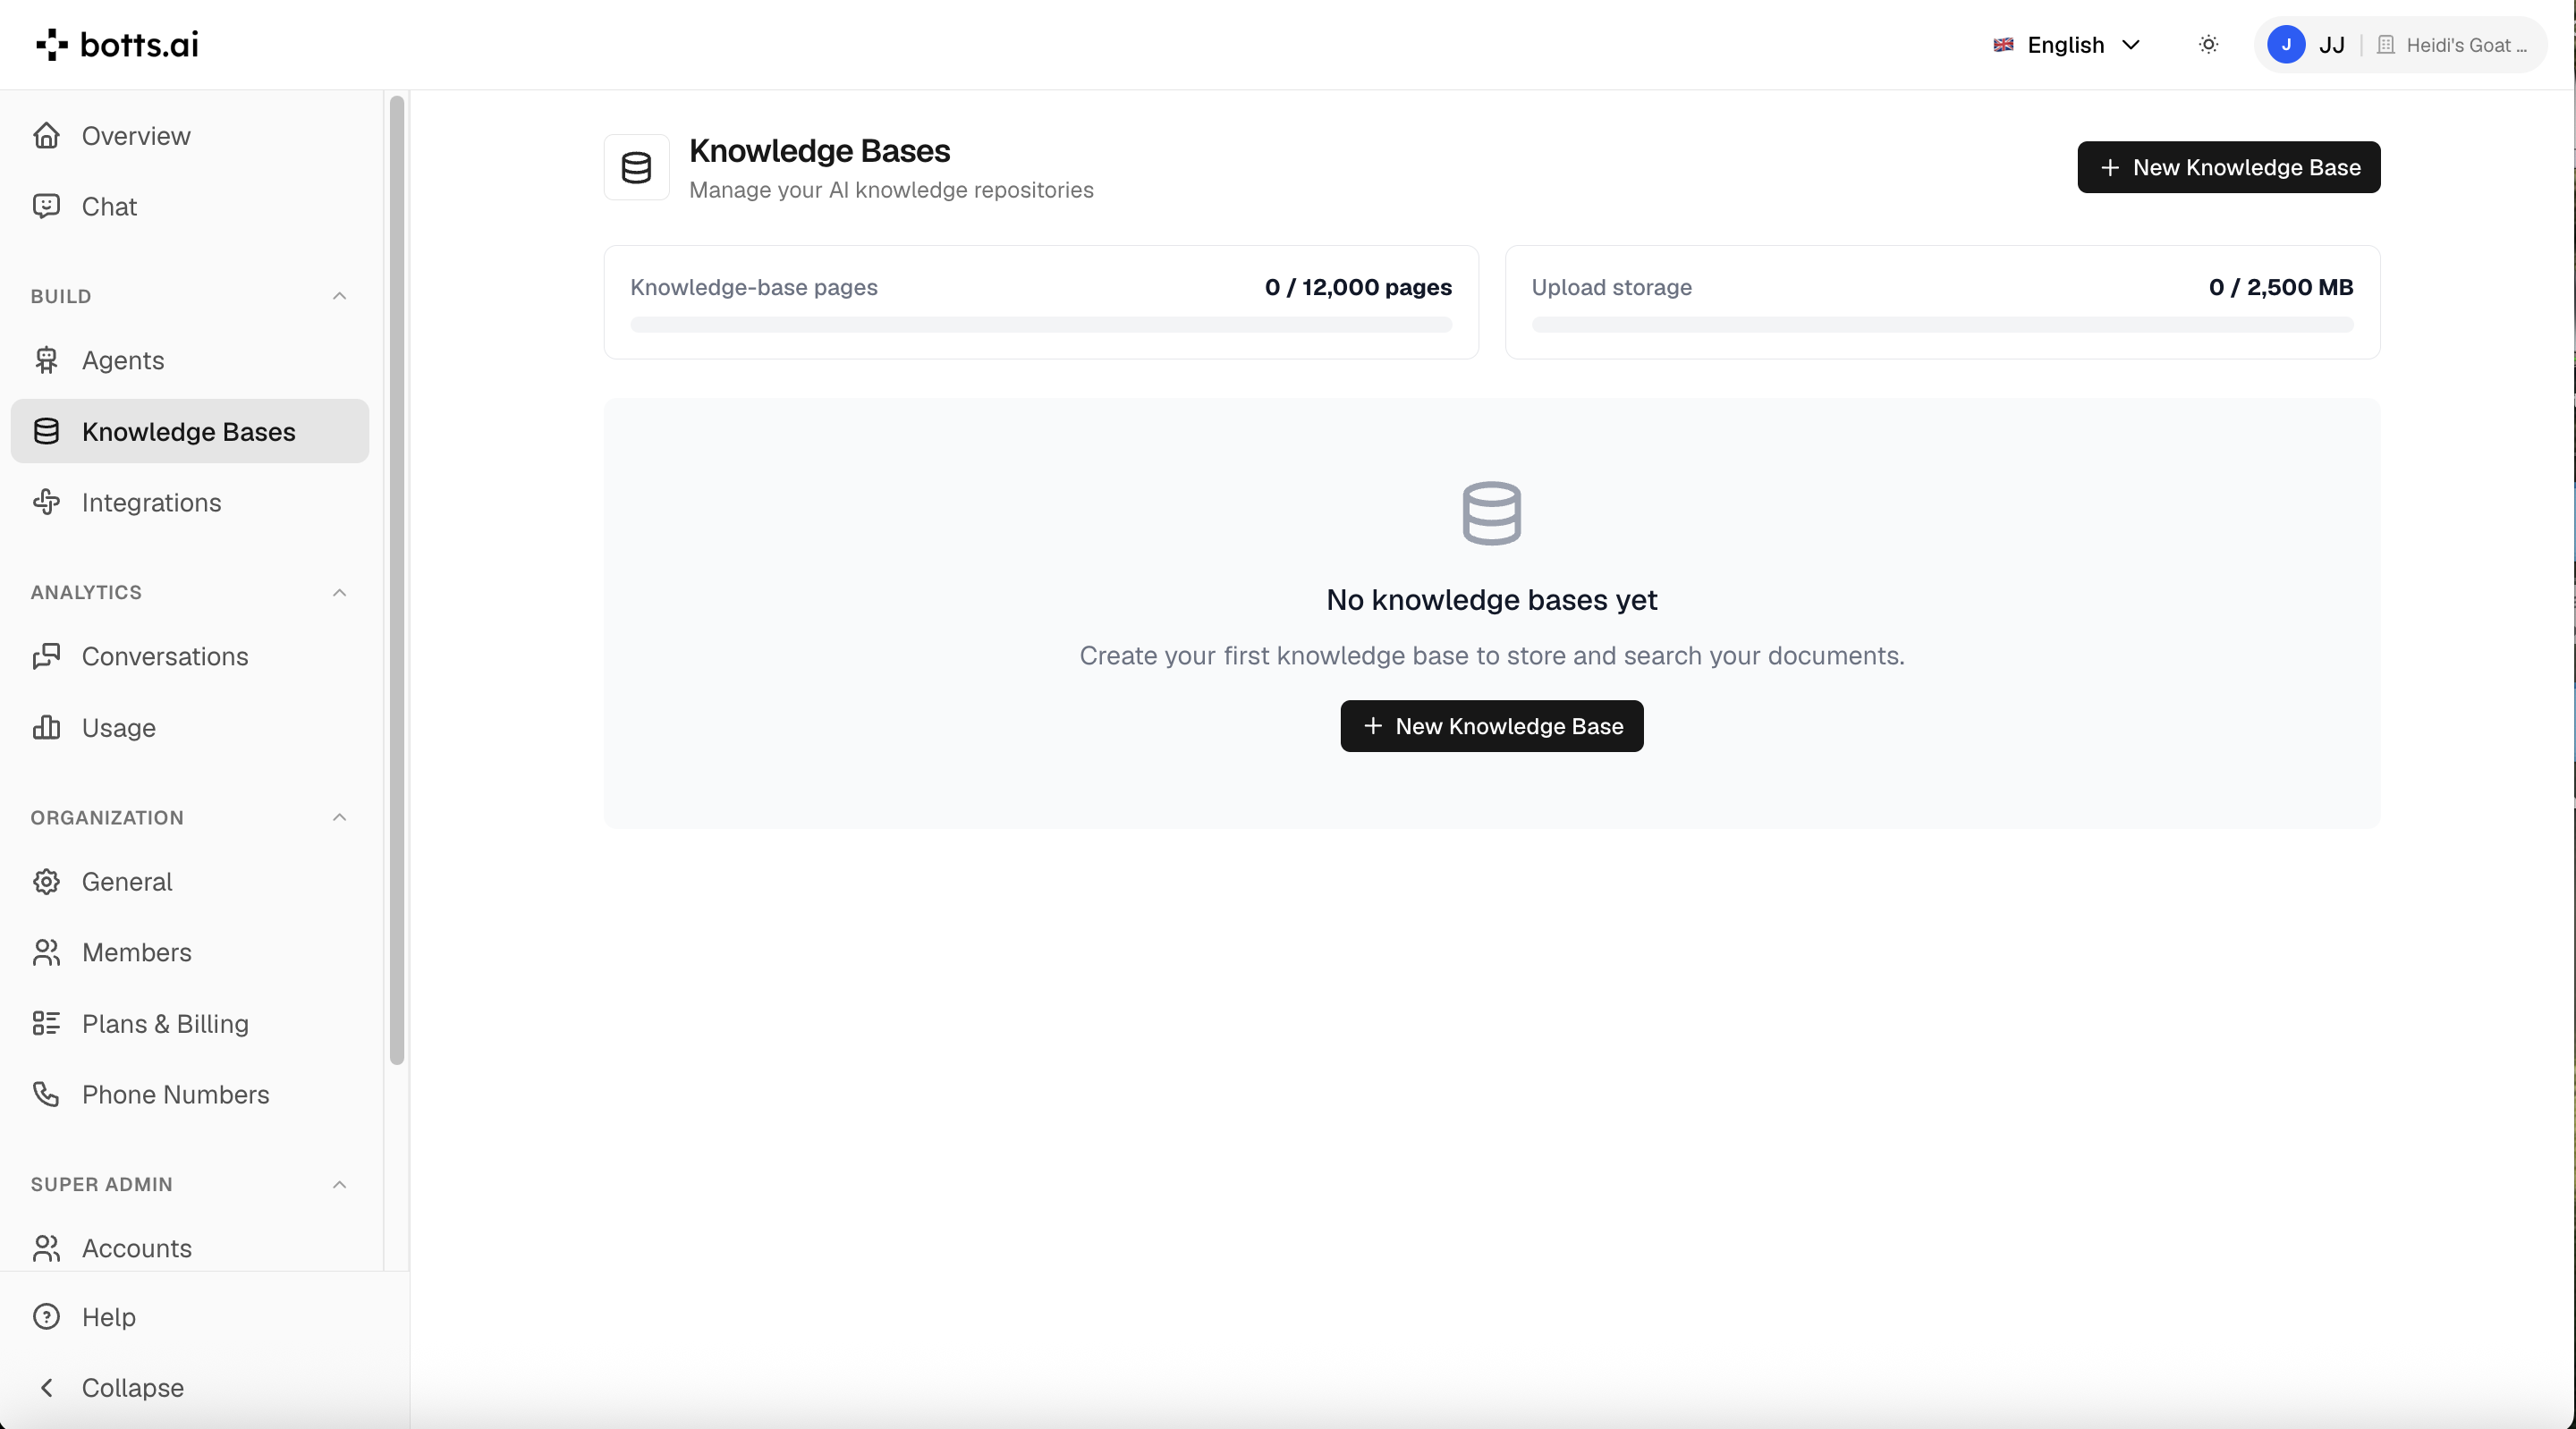
Step 1: Create a Knowledge Base
The knowledge base stores the content your agent can search when answering questions.
- Click Knowledge Bases in the sidebar.
- Click New Knowledge Base, enter a Name (e.g. "Company Website"), and click Create Knowledge Base.
- You land on the knowledge base detail page, where you add sources.
Option A: Crawl your website
- In the Sources section, enter your website URL (e.g.
example.com—https://is added automatically) and click Add. - The new source shows the status not indexed. Click the play button on the source to start the first crawl.
- The status changes to crawling with a live page count. Click the running crawl to open the Crawl Progress view with per-page details.
- When the crawl finishes, the source shows indexed with the number of pages.
The crawler follows internal links automatically. To tune it, click the gear icon on the source to open Crawl Settings: a crawl schedule (Manual, Daily, Weekly, Monthly), Max Pages, Max Depth, an Include linked PDFs toggle, and path/word filters.
Option B: Upload files
- In the Sources section, use the Upload a document area — click it or drag and drop one or more files (PDF, DOC, DOCX, TXT, MD; max 100 MB per file).
- Uploads are processed immediately and show as indexed when done.
Tip
Use the Search section on the same page to test your knowledge base before wiring it to an agent. The default Hybrid mode combines keyword and meaning-based search.
A "page" is roughly 2,000 characters of extracted text, and your plan caps the total pages across your organization (50 on Free). The usage banners at the top of the Knowledge Bases page show where you stand.
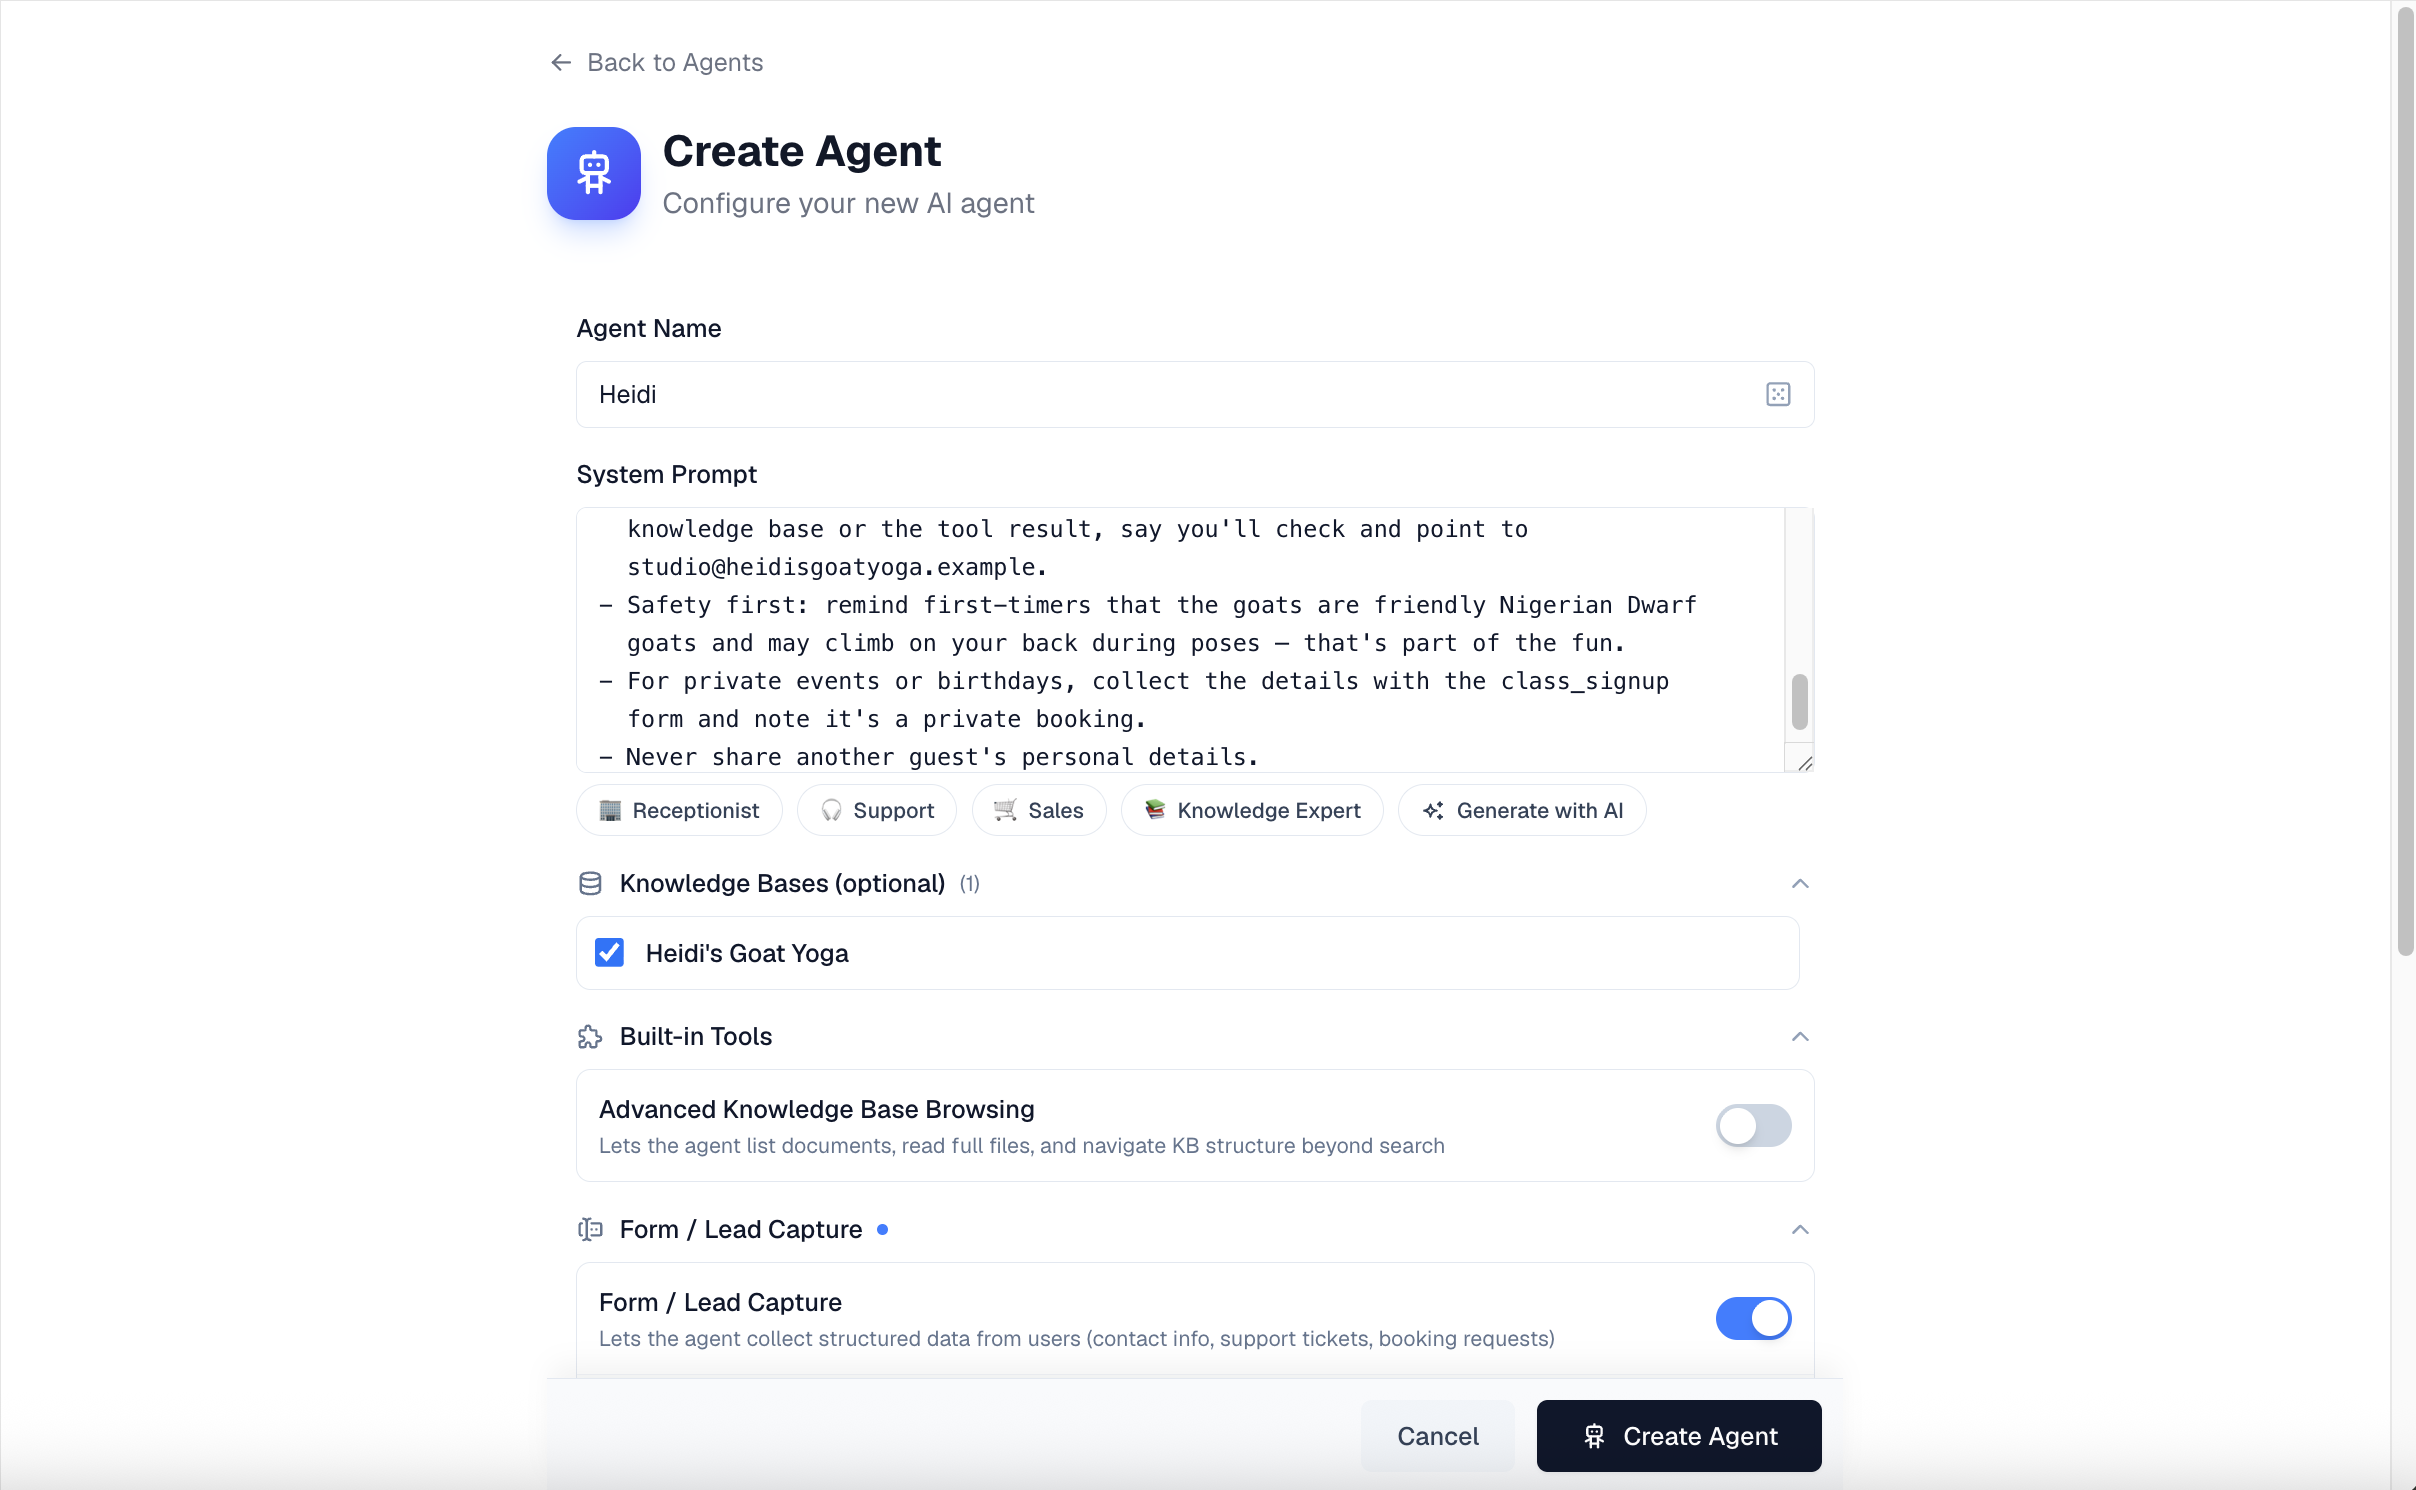
Step 2: Create an Agent
- Click Agents in the sidebar, then click Create Agent.
- Enter an Agent Name (e.g. "Support Bot"). Choose a visitor-friendly name: by default the chat widget's header title falls back to the agent name unless you set a custom header title in the widget editor, and team members select the agent by this name in internal chat.
- Write the System Prompt — the instructions that define your agent's role, tone, and boundaries. You don't have to start from a blank page:
- Click a template chip — Receptionist, Support, Sales, or Knowledge Expert — to insert a ready-made prompt.
- Or click Generate with AI, describe your agent in one sentence (e.g. "A receptionist for a dental clinic"), and click Generate. You can also dictate the description with the microphone button. Edit the generated prompt to fit your business.
- Open the Knowledge Bases (optional) section and tick the knowledge base you created in Step 1. This automatically gives the agent a knowledge-search tool.
- Click Create Agent. You are taken straight to the agent's page.
Step 3: Test Your Agent
The agent page opens on the Configure tab: your configuration on the left, a Test Agent chat panel on the right (on small screens, tap the Test Agent button to open it).
- Pick a model from the model picker above the test chat.
- Ask questions your knowledge base should be able to answer. You'll see the agent searching the knowledge base as part of its response.
- Not happy with an answer? Adjust the System Prompt, click Save Changes, and test again. The test chat costs credits like any other conversation but is otherwise free to experiment with.
Step 4: Deploy to Your Team (Internal Chat)
Before putting the agent in front of customers, roll it out internally so your team can use it and spot problems.
- Open the Deploy tab on the agent page and click New Deployment.
- In the Select Channel dialog, choose Chat (Internal). (Phone and Website are also available; Telegram, WhatsApp, and Email are marked Coming Soon.)
- Configure the deployment:
- AI Model, plus an optional Backup Model that takes over automatically if the primary provider has an outage.
- An optional Chat Picture and a Description shown when the chat starts.
- Show Tool Use (on by default) — lets users see which tools the agent is using.
- Access Control — Organization (all members), Role-based, or Invite Only.
- Click Create Deployment.
Your team members now find the agent under Chat in the sidebar: they switch to Agent Chat and select the agent. Each agent can have one internal chat deployment.
Step 5: Deploy to Your Website (Chat Widget)
Once the agent holds up in internal use, embed it on your website.
Note
This creates a second active deployment alongside the internal chat from Step 4, which requires a paid plan (e.g. Standard, with 4 active deployments). On the Free or Lite plan (1 active deployment), remove the Step 4 deployment first — or skip Step 4 entirely.
- On the Deploy tab, click New Deployment and choose Website.
- Enter a Deployment Name (defaults to "Website" with today's date), pick the AI Model and an optional Backup Model, and click Create Deployment.
- Click the new deployment card to open the widget editor: settings on the left, a live preview of the widget on the right.
- Customize the widget — colors, header, welcome message, suggested messages, position, and size. Changes appear instantly in the preview but are only applied once you click Save Changes.
- Copy the snippet from the Embed Code section and paste it into your website's HTML, just before the closing
</body>tag. The widget appears in the bottom-right corner by default.
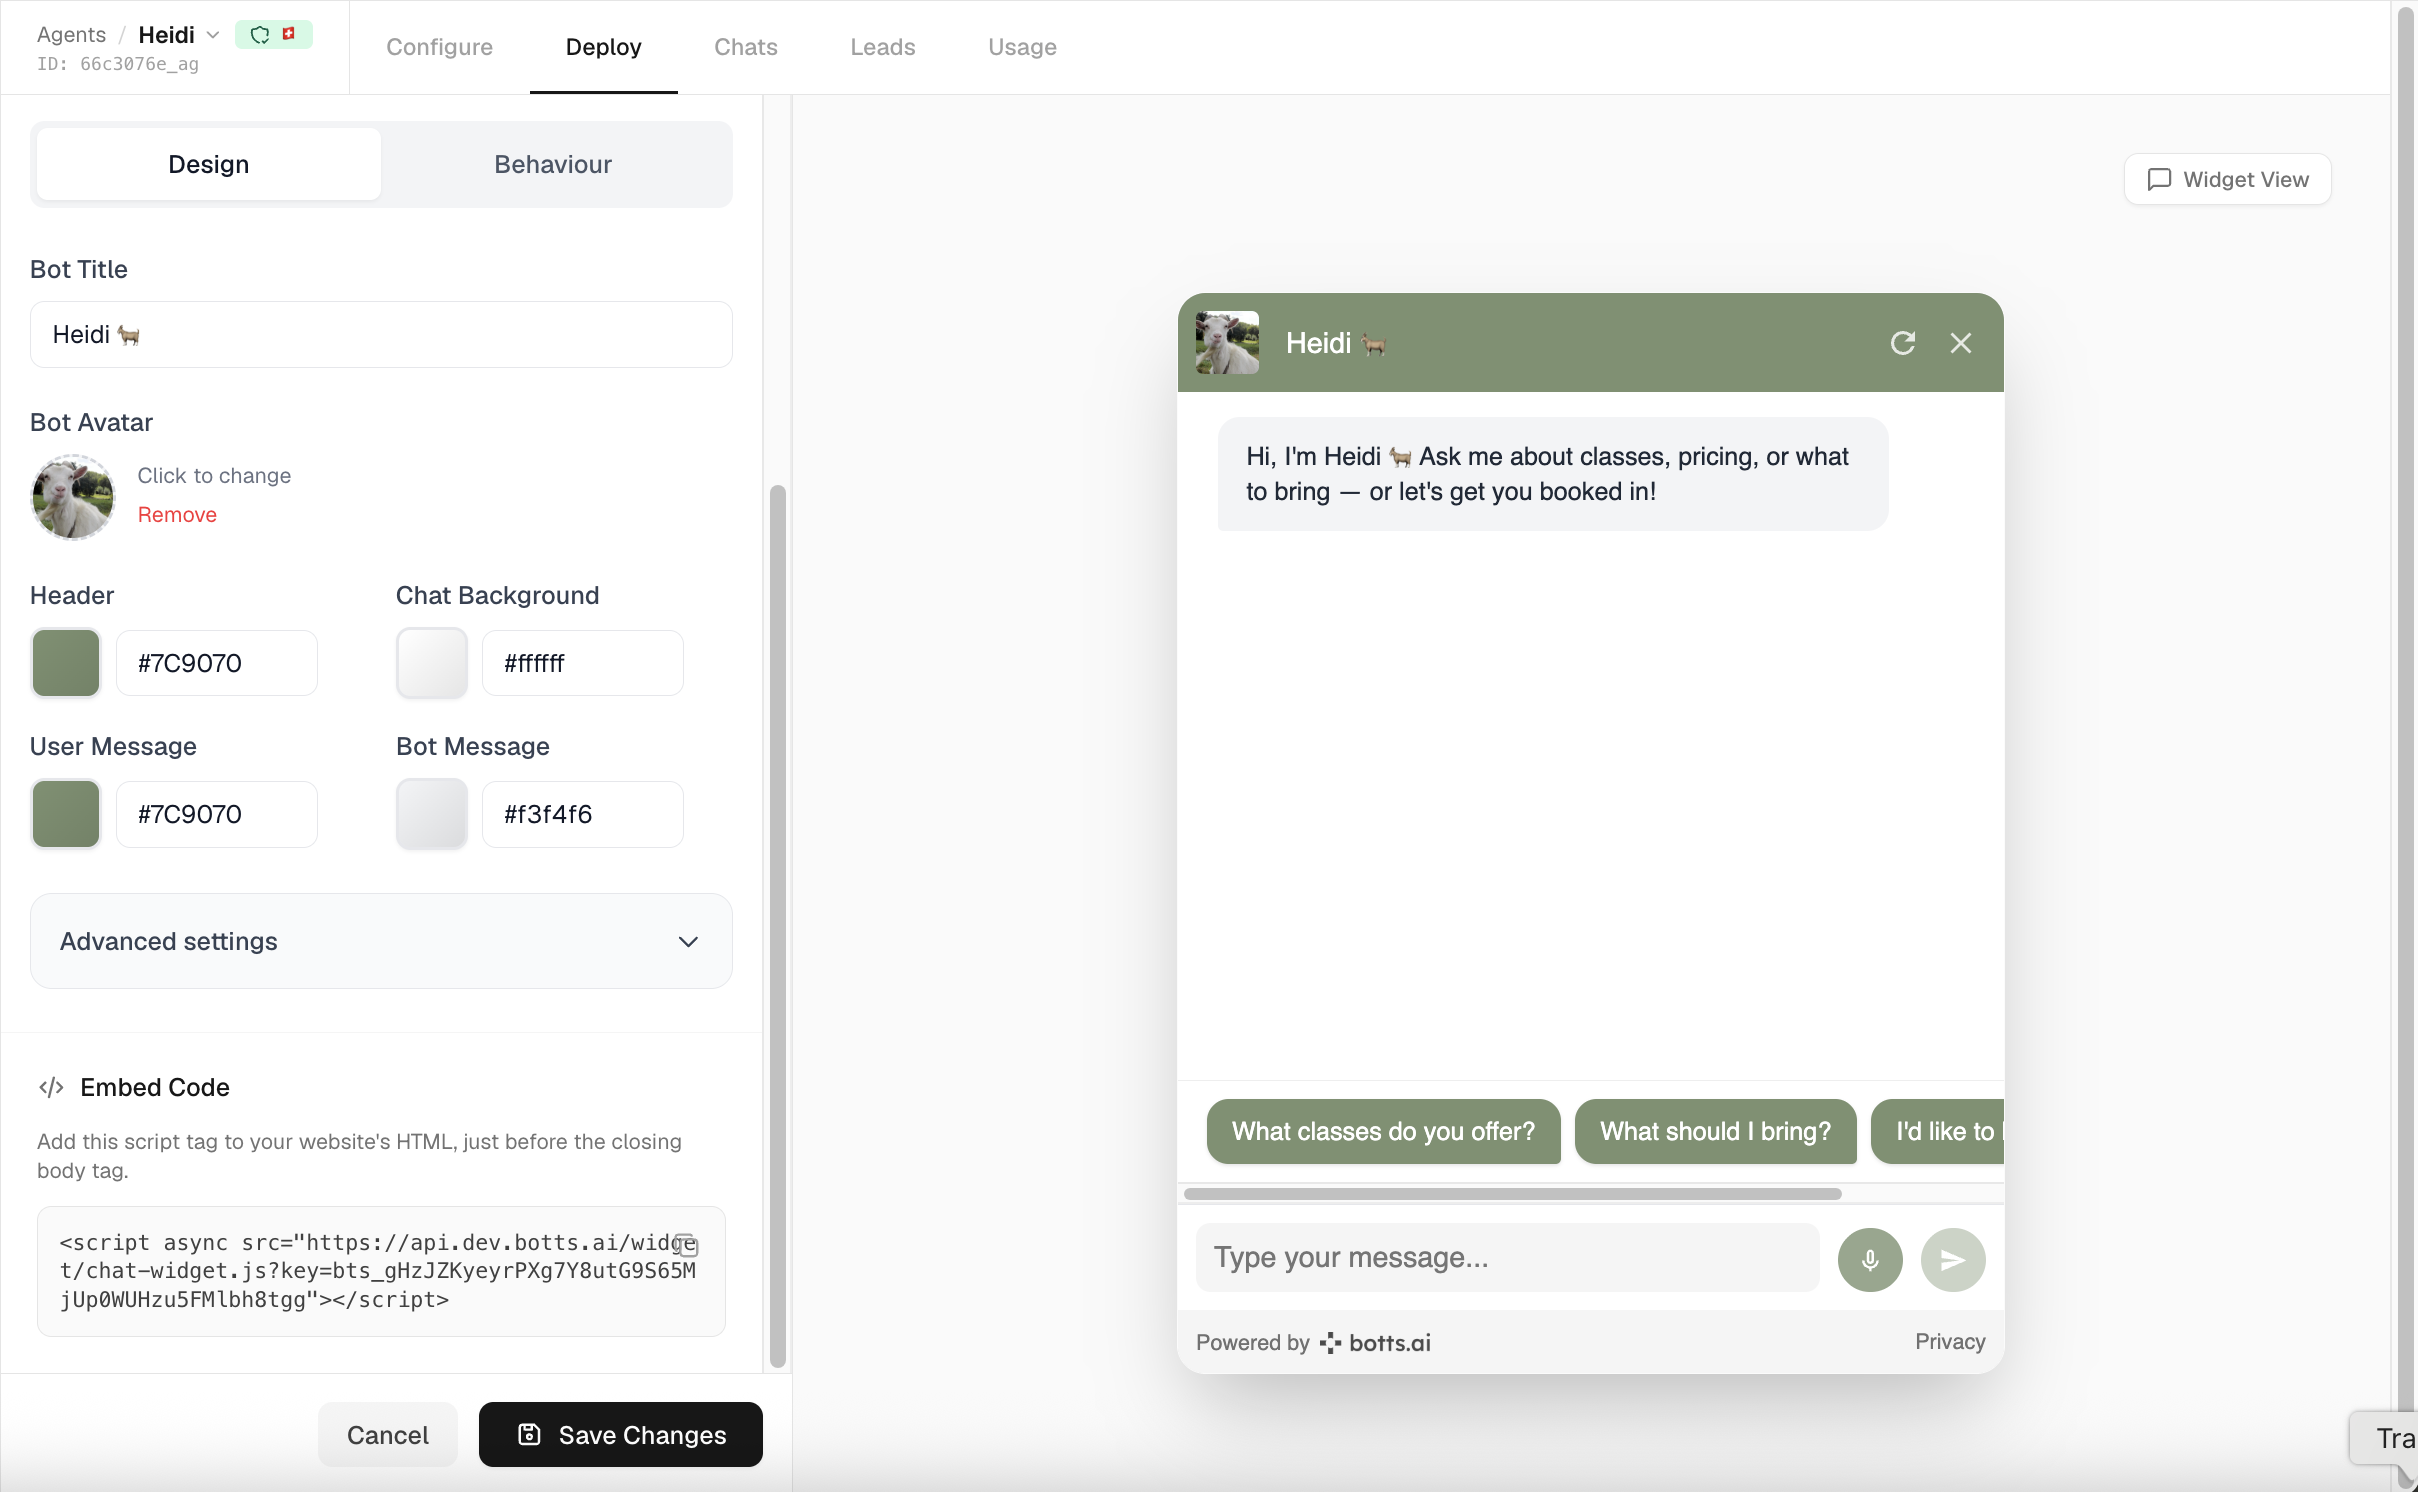
Your agent is now live on your website.
What's Next?
- Agents → — Better system prompts, conversation history, customer memory, and built-in tools.
- Deployments → — Widget customization in depth, phone agents, backup models, and access control.
- Conversations → — Review your agent's conversations and monitor quality.
Last updated on July 31, 2026