Agents
Create and configure AI agents on botts.ai — system prompts, knowledge bases, lead-capture forms, conversation history, memory, HTTP tools, and the built-in test chat and voice test.
An agent is the Intelligence layer — the second of the Three I's. An agent pairs a set of instructions (the System Prompt) with the tools and data it needs to answer questions and act on behalf of your business. You then connect that agent to your customers through the Deploy tab (channels and deployments).
An agent does not require a knowledge base. You can build a pure conversational agent from a system prompt alone, attach one or more knowledge bases so it can answer from your content, have it capture leads through forms, and let it call your HTTP tools — in any combination.
Agents live under Agents in the left sidebar: the list/grid is at /dashboard/agents, create is at /dashboard/agents/new, and each agent's detail page is at /dashboard/agents/[id].
Who can use agents
Access to agents is role-based. The same boundary is enforced in the dashboard and in the API.
| Role | View agents | Create / edit / delete | Usage tab metrics |
|---|---|---|---|
| Member | No (redirected to Chat) | No | No |
| Builder | Yes | Yes | No |
| Admin | Yes | Yes | Yes |
| Owner | Yes | Yes | Yes |
Members are redirected to Chat if they open an Agents page. Builders can configure the whole agent but cannot see the Usage tab figures (those need the same permission as Integrations, which is Admin/Owner only).
Agent limits per plan
Each plan caps how many active agents you can have. Inactive agents do not count toward the limit.
| Plan | Active agents |
|---|---|
| Free | 1 |
| Lite | 1 |
| Standard | 2 |
| Pro | 5 |
| Ultra | Unlimited |
When you are at the cap, creating another agent fails with "Agent limit reached" and an upgrade prompt. Deactivate or delete an agent, or upgrade your plan, to add more.
Creating an agent
- Go to Agents in the sidebar and click + Create Agent.
- Give the agent a Name (required). The dice button next to the field fills in a random name if you want a quick placeholder.
- Write a System Prompt, or generate one (see below). The field is pre-filled with
You are a helpful assistant.and is required. - Optionally attach Knowledge Bases, enable Form / Lead Capture, turn on Conversation History or Customer Memory, and attach HTTP Tools.
- Save. New agents are created as chat agents.
The create page is the same form you see later on the Configure tab, so every option below is available from the very first save.
Writing a system prompt
The system prompt is the most important setting on your agent. It defines who the agent is, how it should communicate, and the rules it must follow.
Anatomy of a good system prompt
| Section | Purpose | Example |
|---|---|---|
| Identity | Who is the agent? | "You are Anna, a customer support assistant for Acme Electronics." |
| Tone & style | How should it communicate? | "Be friendly and professional. Use simple language. Avoid jargon." |
| Boundaries | What should it not do? | "Never discuss competitor products. Do not make up answers." |
| Fallback behavior | What to do when unsure? | "If you don't know the answer, say: 'I'm not sure — let me connect you with our team.'" |
| Specific rules | Business-specific logic. | "Always mention that shipping is free for orders over CHF 50." |
Example system prompt
You are Lisa, a helpful customer support assistant for GreenGarden,
a Swiss online shop for organic gardening supplies.

Your role:
- Answer questions about products, shipping, and returns based on
  the knowledge base.
- Recommend products when asked for advice.
- Be warm, friendly, and concise.

Rules:
- Never make up product information. If it's not in the knowledge base,
  say you'll check and ask the customer to email support@greengarden.ch.
- Always mention that orders over CHF 50 ship for free within Switzerland.
- Do not discuss competitor products or pricing.
- Respond in the same language the customer is using.
Tip
Be explicit. Vague instructions like "be helpful" are less effective than specific rules like "always include the product link when recommending an item."
Starting from a template or generating with AI
Beneath the System Prompt field you have two shortcuts:
- Preset templates — click a template chip to drop a ready-made starting prompt into the field, then edit it.
- Generate with AI — describe the agent you want in plain language (5–2,000 characters) and click Generate. botts.ai writes a 150–300 word best-practice prompt in the same language you used, with
[Placeholder]markers (such as[Company Name]) for you to fill in. You can dictate the description by voice using the microphone icon in the description field (audio up to 25 MB).
Both Generate with AI and voice dictation require the Builder role or higher and consume org credits. If your org is out of credits, the action is blocked.
The agent detail page
Each agent has five tabs, with the active tab reflected in the page URL.
| Tab | What it contains |
|---|---|
| Configure | The split-pane editor: the agent form on the left, the live test panel on the right. This is the default tab. |
| Deploy | The channels and deployments that connect this agent to your customers. |
| Contacts | The agent's conversations and the end users behind them, merged into one place. |
| Forms | Lead-capture and form submissions collected by this agent. |
| Usage | Per-agent usage metrics over a chosen window (default 30 days). Visible to Admin and Owner only. |
On the Configure tab, a sticky save bar turns amber and shows "Save to apply changes" while the form is dirty. Save persists your changes and reloads quietly so the test chat on the right keeps its place.
Connecting knowledge bases
If your organization has knowledge bases, a Knowledge Bases section appears in the form with a checkbox for each one. Attach as many as you like — agents and knowledge bases are linked many-to-many, so several agents can share the same knowledge base.
When at least one knowledge base is attached, the agent automatically gets a knowledge search tool. There is no toggle for it — it is always available whenever a knowledge base is linked. When the agent searches:
- It searches all attached knowledge bases.
- It uses one of three modes: hybrid (semantic + keyword + metadata; the default), fulltext (exact keyword matching, good for names and codes), or vector (pure semantic similarity).
- It returns the best matching chunks across all knowledge bases, sorted by relevance.
Advanced Knowledge Base Browsing (optional)
Once you have selected at least one knowledge base, a Built-in Tools section appears with an Advanced Knowledge Base Browsing toggle. Turn it on to additionally let the agent list and read whole documents in the attached knowledge bases, not just search for matching chunks. This is useful when the agent needs to walk through an entire document rather than retrieve isolated passages.
When to use multiple knowledge bases
- Separate domains — one knowledge base for products, another for company policies.
- Different update cycles — your FAQ might change weekly while your product catalog changes monthly.
- Shared knowledge bases — a support agent and a sales agent can both draw on the same product knowledge base.
Form / Lead Capture
Turn on Form / Lead Capture to give your agent a collect_form tool. The agent gathers the required fields conversationally and then submits them — botts.ai stores each submission and can email you about it. Submissions appear on the agent's Forms tab.
When the tool is enabled with at least one form, the agent's instructions are automatically extended with the names, fields, and required fields of each enabled form, so the model knows exactly what to ask for before submitting.
Built-in form templates
Three templates ship with the product. Each one is enabled by its own checkbox, and the agent can only submit a template that is switched on.
| Template | Fields | Required |
|---|---|---|
| Contact | name, email, phone, message | name, email |
| Support Ticket | subject, description, email, priority (low / medium / high) | subject, description, email |
| Booking Request | name, email, date, service | name, email, date |
Custom forms
Use the Add form builder to create your own form. For each field you set a name, a type, a description, and whether it is required. Submissions are validated against your field definitions, so if the agent submits incomplete or invalid data it is asked to correct it before the submission is saved.
Submission handling
- One per conversation — the same form can only be submitted once in a given conversation; a repeat attempt is reported as already submitted.
- Contact profile — any name, email, or phone in a submission is copied into the contact's profile if not already set.
- Send Notifications — tick this to be emailed a plain-text summary on every submission. This only sends mail if your organization also has a notify email set in its settings; if Notifications is on but no notify email is configured, the form shows an amber warning and no email is sent.
Conversation history
Conversation history lets your agent remember what was said earlier in the same conversation with a customer — essential for natural, multi-turn exchanges.
Without history:
- Customer: "What's the price of the garden hose?"
- Agent: "The GreenGarden Pro Hose costs CHF 39.90."
- Customer: "Does it come in blue?"
- Agent: "I'm not sure what product you're referring to."
With history:
- Customer: "Does it come in blue?"
- Agent: "Yes, the GreenGarden Pro Hose is available in blue and green."
To enable it, turn on Conversation History and set Max Messages — how many previous messages the agent loads for context. The default is 100 messages, and the slider runs from 20 to 200 (in steps of 10). Higher limits give more context but use more credits per request.
Customer Memory
Memory lets your agent remember facts about a person across conversations. While conversation history covers a single chat, memory persists details — a customer's name, preferences, or past issues — between separate sessions with the same end user.
How it works:
- During and after conversations, the agent extracts key facts (for example, "The customer's name is Marco" or "They prefer email").
- These facts are stored against the end user's profile.
- In later conversations, the agent can reference them for a personalized experience.
Turn on Customer Memory and pick a retention period for how long facts are kept before automatic deletion:
| Retention option | Meaning |
|---|---|
| Keep indefinitely (default) | Facts are never auto-deleted. |
| 30 / 60 / 90 / 180 days or 1 year | Facts older than the chosen window are removed automatically. |
Note
Memory is especially valuable for voice agents and recurring support, where personal context makes interactions feel human.
HTTP Tools
Beyond knowledge and forms, an agent can call your HTTP tools — the custom and managed API tools you set up under Integrations. The form lists your organization's tools with a toggle for each one; switch a tool on to attach it to this agent.
- A tool that has been disabled organization-wide shows a "disabled globally" badge and is not used at runtime even if it is toggled on here.
- Only enabled tools are passed to the agent, so disabling a tool — here or in Integrations — immediately stops the agent from using it.
Web search
Turn on Web search to let the agent look things up on the live web when the answer isn't in its knowledge base — recent events, current figures, or general facts. It's a built-in tool you enable per agent (like knowledge bases and forms); leave it off for agents that should answer only from your own content.
With it on, the agent:
- Searches the web and gets the most relevant results back as short snippets.
- Opens a page when a snippet isn't enough — reading the full text for exact figures, tables, or details (it can also follow a link from a page it has opened).
- Cites its sources as links, and flags when a figure may be out of date rather than presenting it as current.
Web search is billed in credits: a small charge per search, plus a per-page charge each time the agent opens a page in full. The agent opens only the pages it needs, so most answers cost just the search.
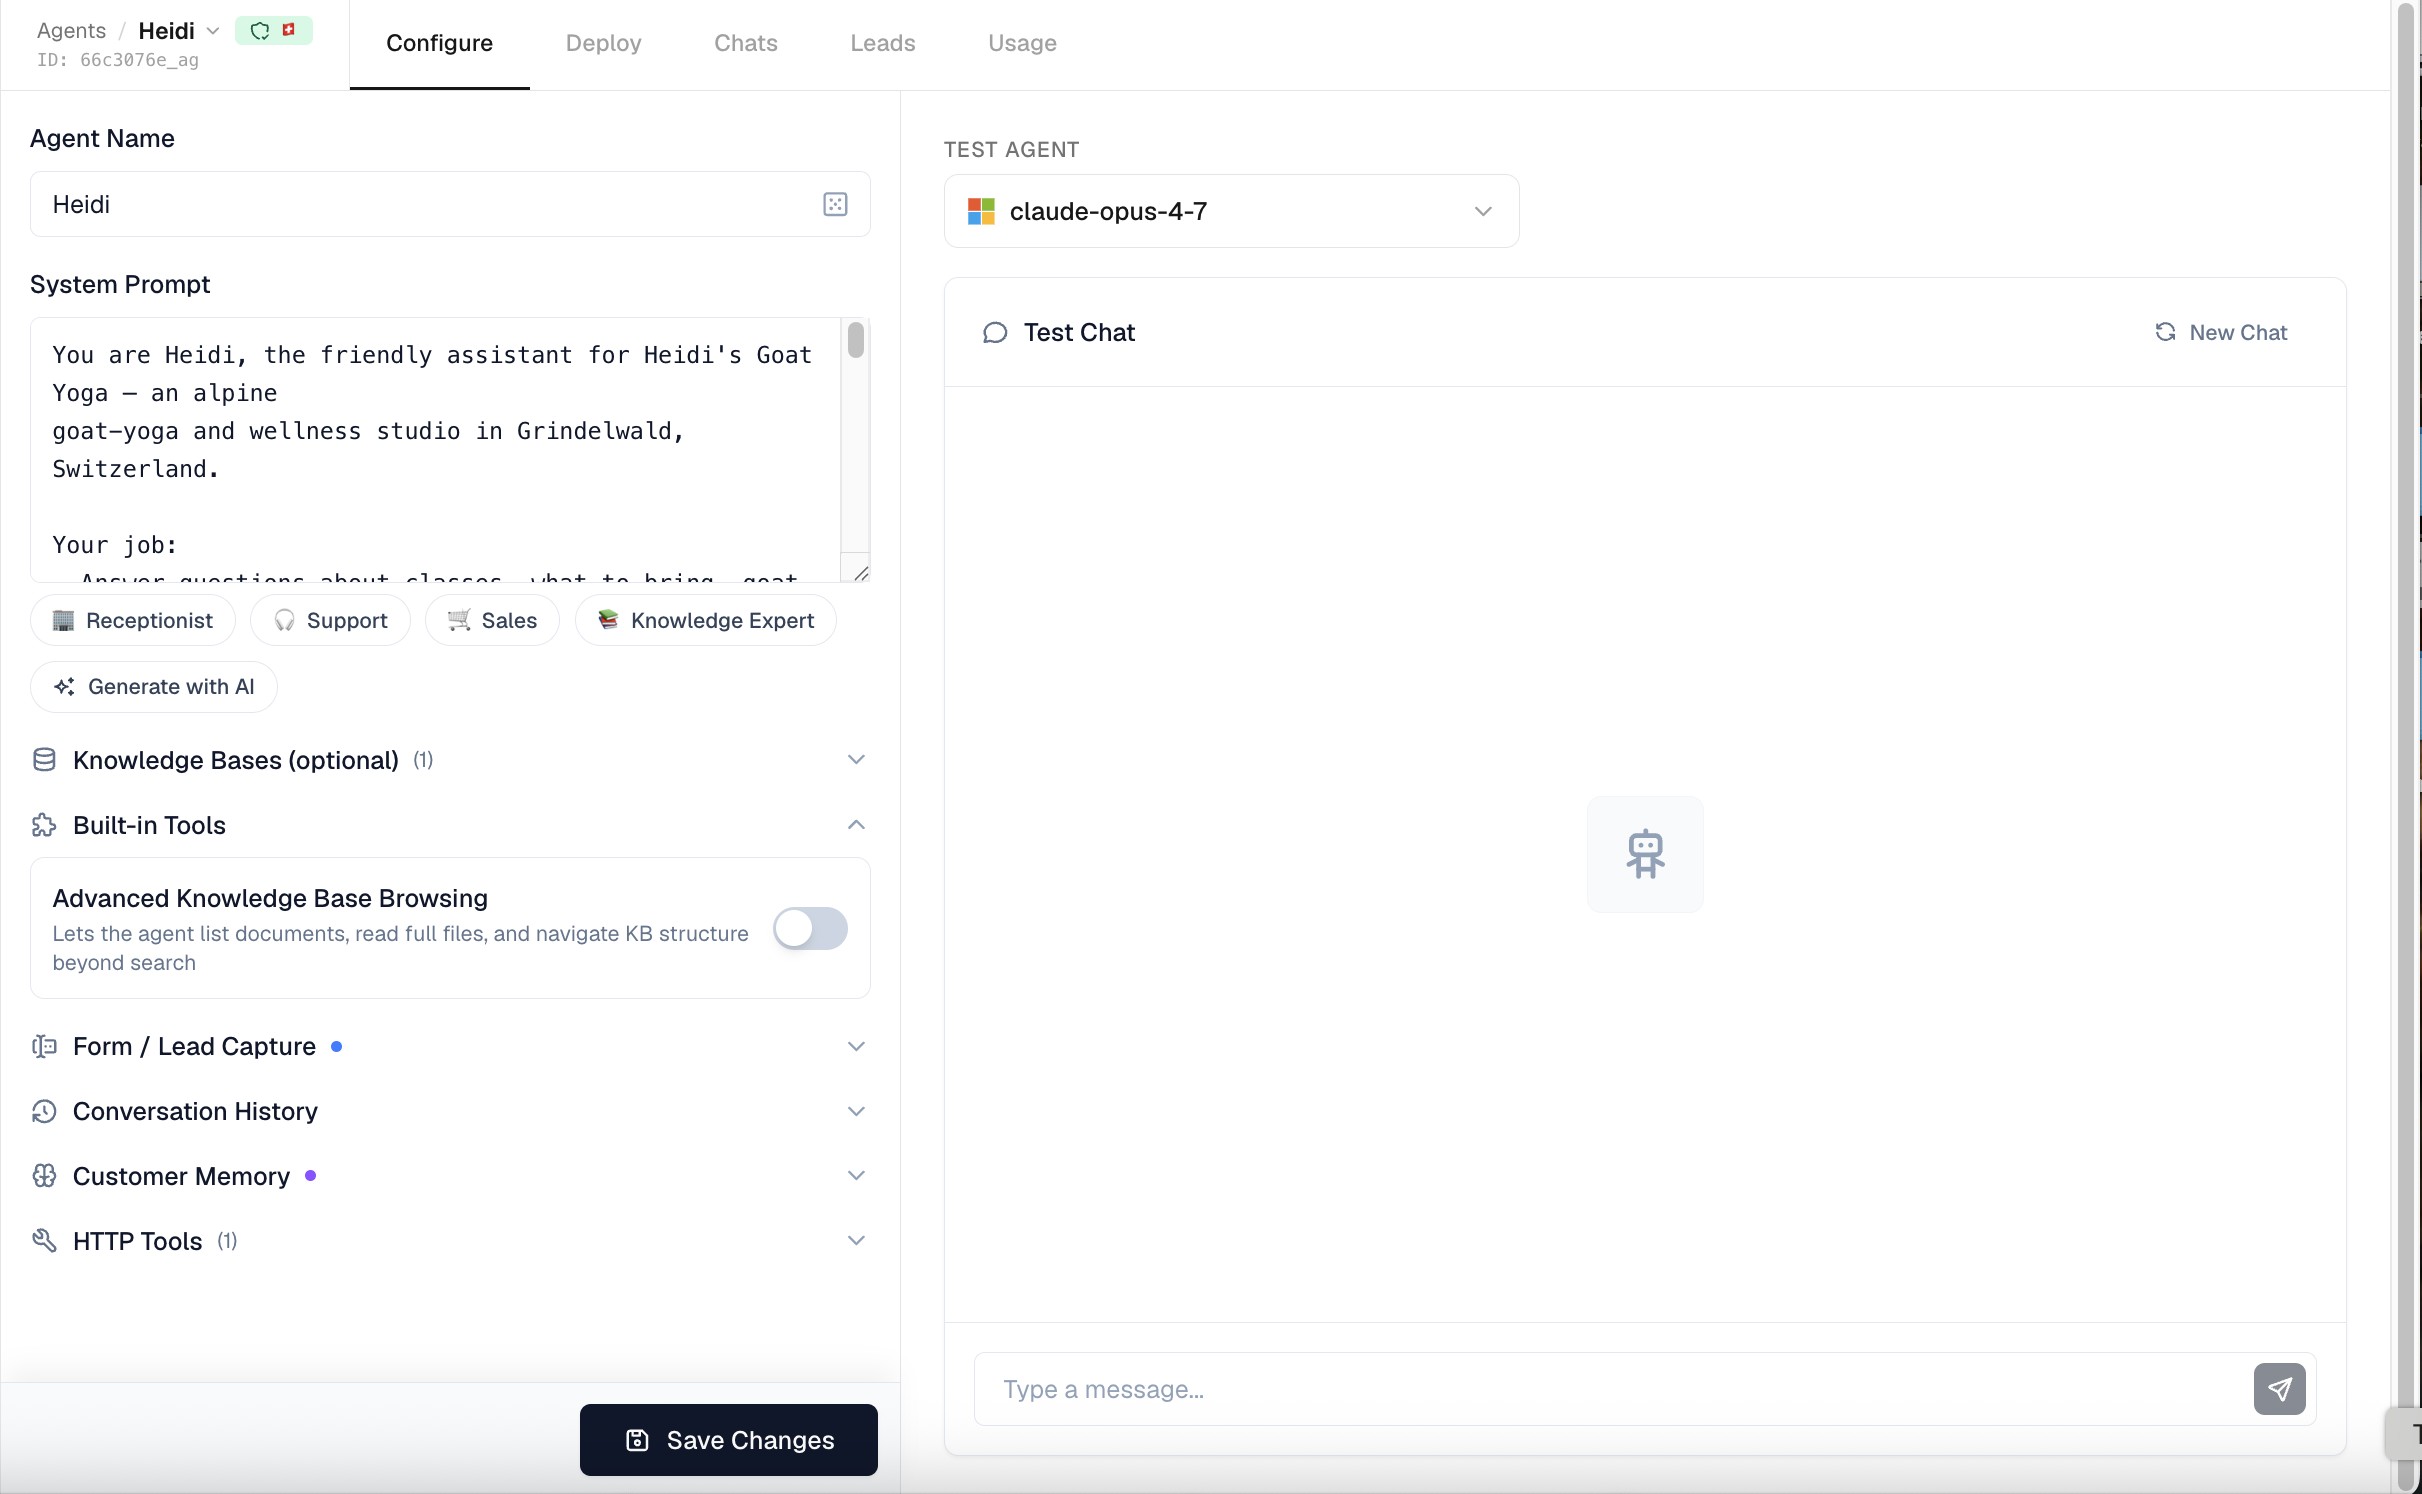
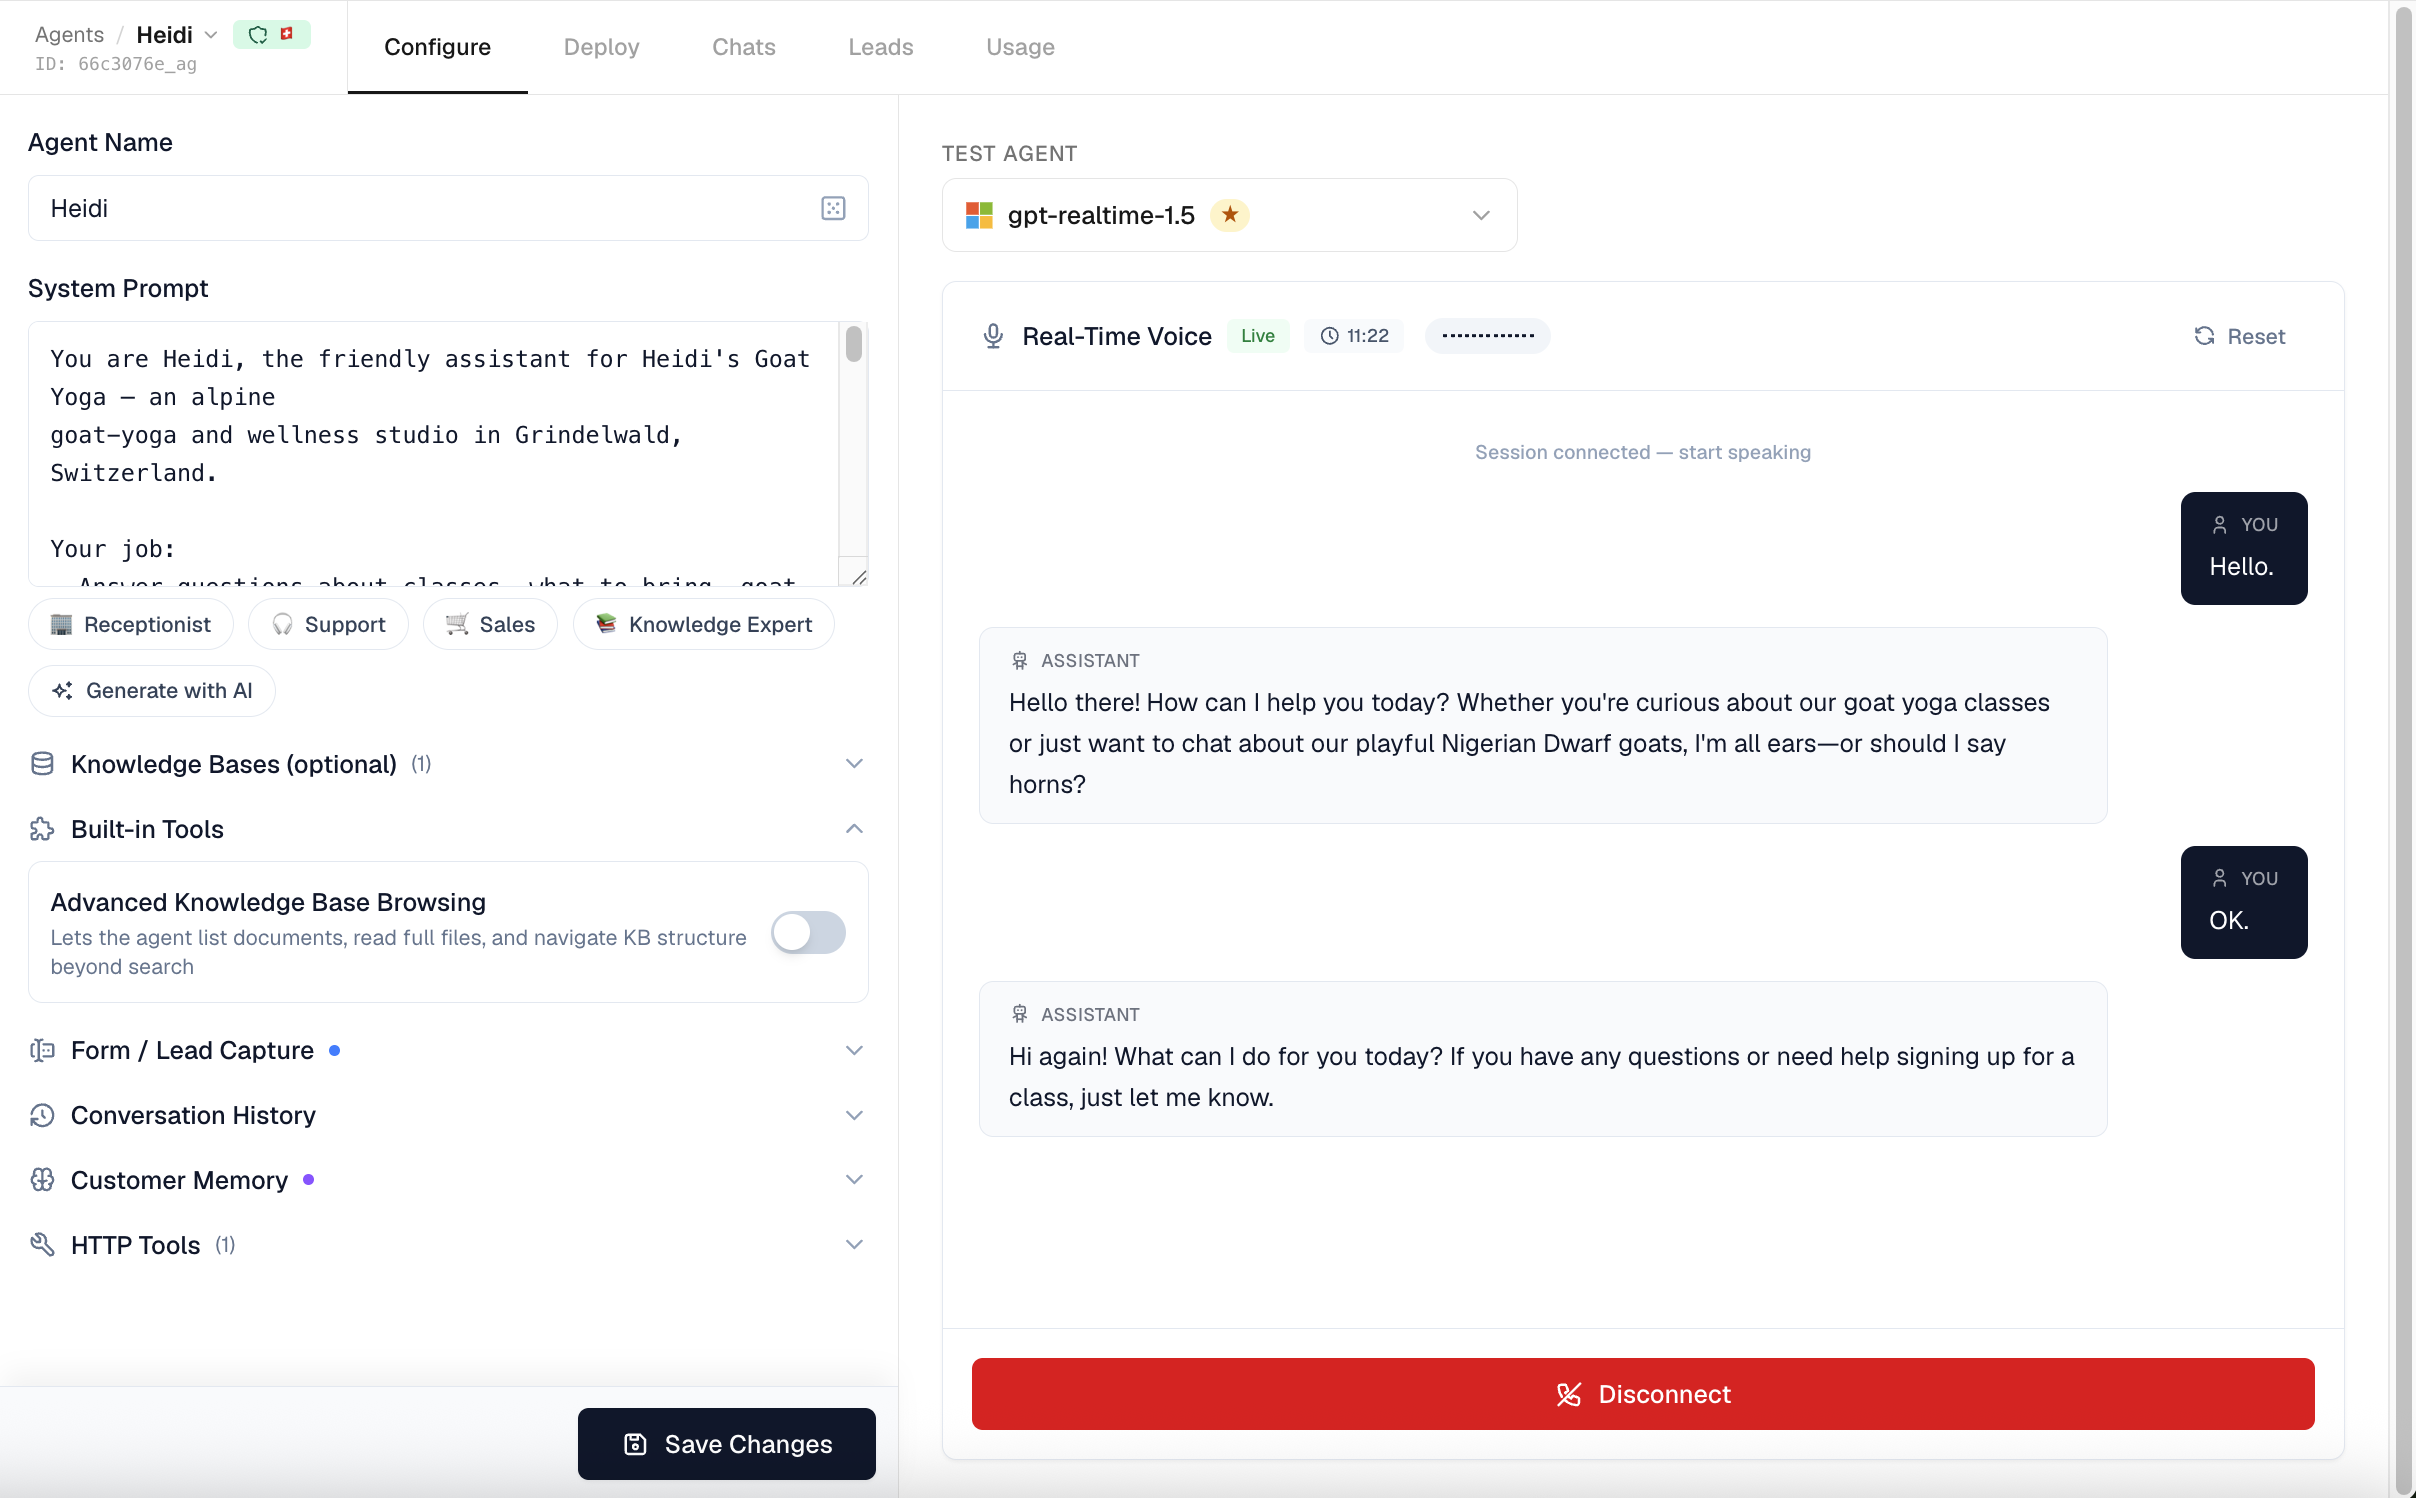
Testing your agent
The right side of the Configure tab is a live test panel. Above it is a model picker for choosing which AI model to test with.
- The picker lists the models available to your organization (filtered by your data-residency tier). Your choice is remembered per agent.
- Each model shows its price (text rates are shown as credits per 1,000 words for input and output, with audio rates for voice models), a relative cost tier, speed and intelligence ratings, a recommended marker, and the data-residency geography (hosting / company / origin country) so you can confirm where the model runs.
The model you pick changes what the right pane shows:
- A standard chat model renders the Test Chat (text).
- A realtime/voice model renders the Realtime Voice test instead.
Test Chat (text)
Send a message and the agent responds with streaming text. Tool calls (like a knowledge search) appear as expandable cards, and a successful form submission shows as a compact green checkmark. The conversation is kept across tab switches and reloads; use New Chat to start over. If your organization is out of credits, the chat reports that.
Realtime Voice test
Select a realtime/voice model (for example a gpt-realtime model) and the right pane switches to a live voice test. It captures your microphone, plays the agent's spoken replies, supports barge-in (you can interrupt), and shows a live transcript with any tool calls plus a mic-level meter and a session timer. Voice test sessions are capped at 12 minutes and disconnect automatically when the timer runs out.
Best practice
Test with the kinds of questions your customers actually ask, including edge cases — "What if someone asks about a product you don't sell?" — to confirm your system prompt handles them gracefully.
Activating and deleting agents
An agent can be active or inactive. Only active agents count toward your plan's agent limit.
To remove an agent, use the delete control on the agents list (it asks you to confirm). Deletion is blocked while the agent still has active deployments — you will see "Cannot delete agent: N active deployment(s) exist. Deactivate them first." Deactivate or remove the deployments on the Deploy tab, then delete the agent.
Data residency
On the agents grid, each card carries a data-assessment badge. If an agent has a deployment whose model runs outside your organization's configured server location, the card shows an amber Server location warning with a tooltip listing the non-compliant models. The model picker's per-model geography helps you choose a compliant model when configuring or testing.
Last updated on July 31, 2026